
Break Thirty
Published on
November 20, 2025
.svg)


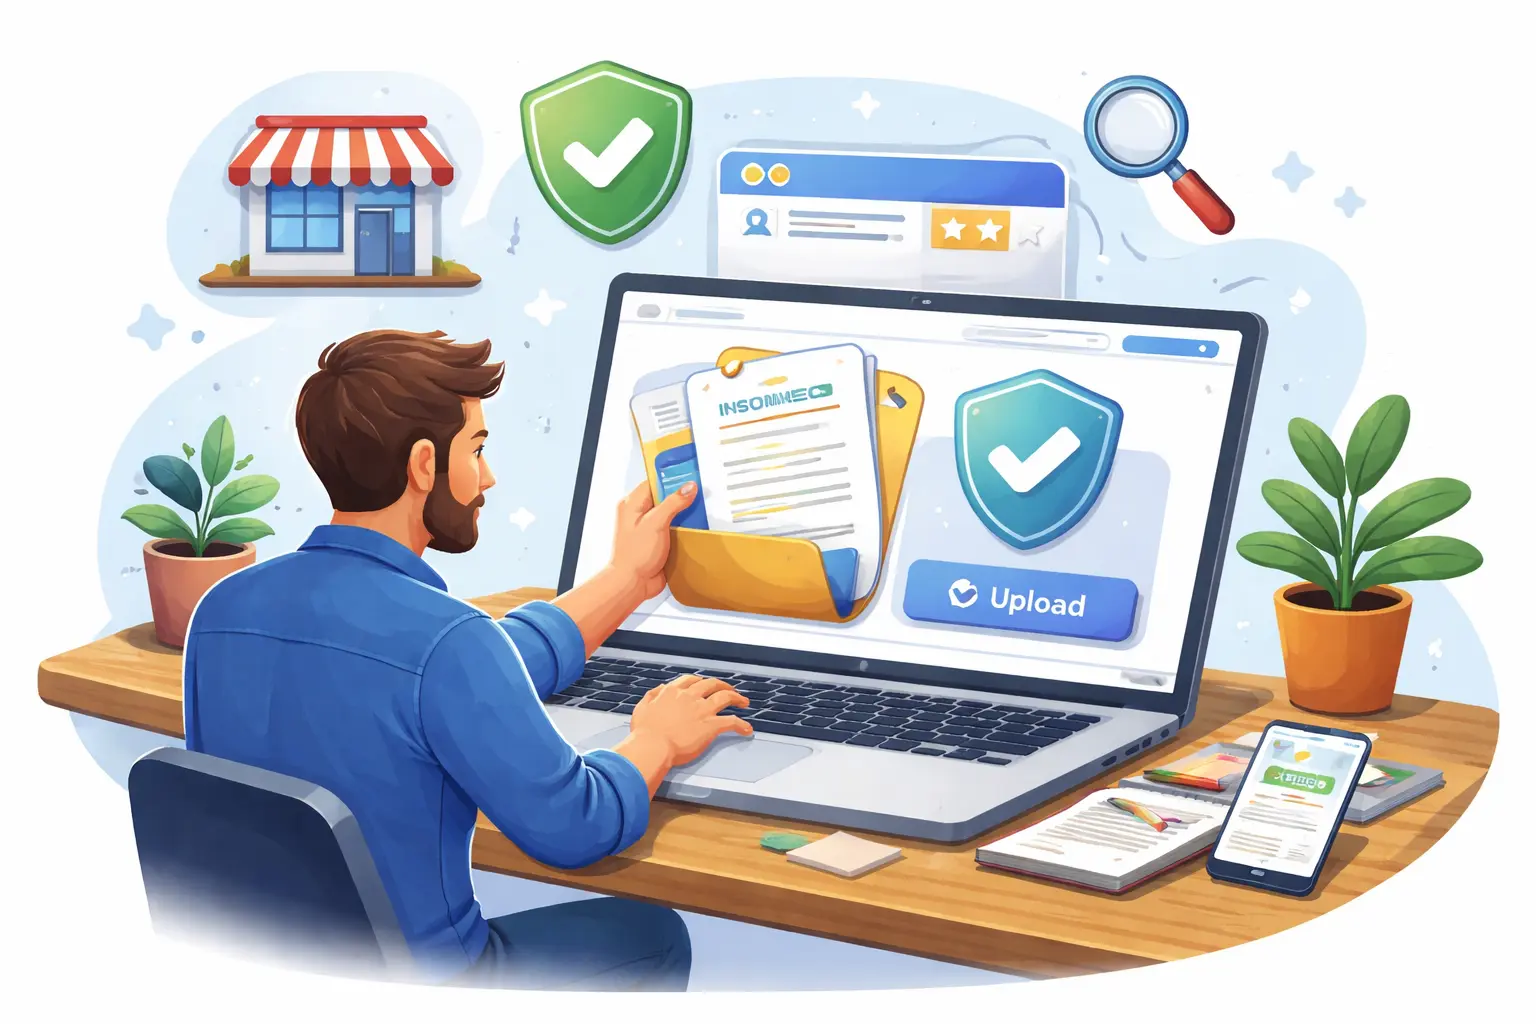
Setting up an Amazon Storefront (also called a Brand Store) lets you create a custom, multi-page mini-website on Amazon for your brand.
It’s a free self-service tool that uses a drag-and-drop builder – no coding required.
A well-designed Storefront showcases your brand story and full product catalog in one place.
In fact, Amazon data indicates that shoppers who visit a storefront purchase 53.9% more frequently, add items to their cart 52.1% more often, have a 42.4% higher average selling price, and generate a 71.3% higher average order value than those who do not.
In this guide, we’ll walk through exactly how to set up an Amazon Storefront step by step, from eligibility to launch – so you can build a compelling brand destination on Amazon.
An Amazon Storefront (or Amazon Stores) is essentially your own branded, multipage storefront within Amazon’s platform.
It looks and feels like a mini e-commerce website, letting you add rich media – images, videos, banners, and text – to tell your brand’s story.
Unlike a regular product listing, a Storefront is curated for your brand alone.
You can organize products into categories, highlight best-sellers, and even add lifestyle images or videos.
Customers find your Storefront via a unique URL (like amazon.com/stores/YourBrand) or the “Visit the [Brand] Store” link on your product pages.
In short, it’s a free, built-in way to create a distraction-free brand shopping experience on Amazon.
Only brand-registered sellers or vendors can create a Storefront.
You must be enrolled in Amazon Brand Registry with a registered trademark, and you need an active Professional Seller (or Vendor) account.
Individual sellers cannot make a dedicated Storefront.
It’s available only to brand owners who have proven their trademark.
You also need the credentials to manage that brand.
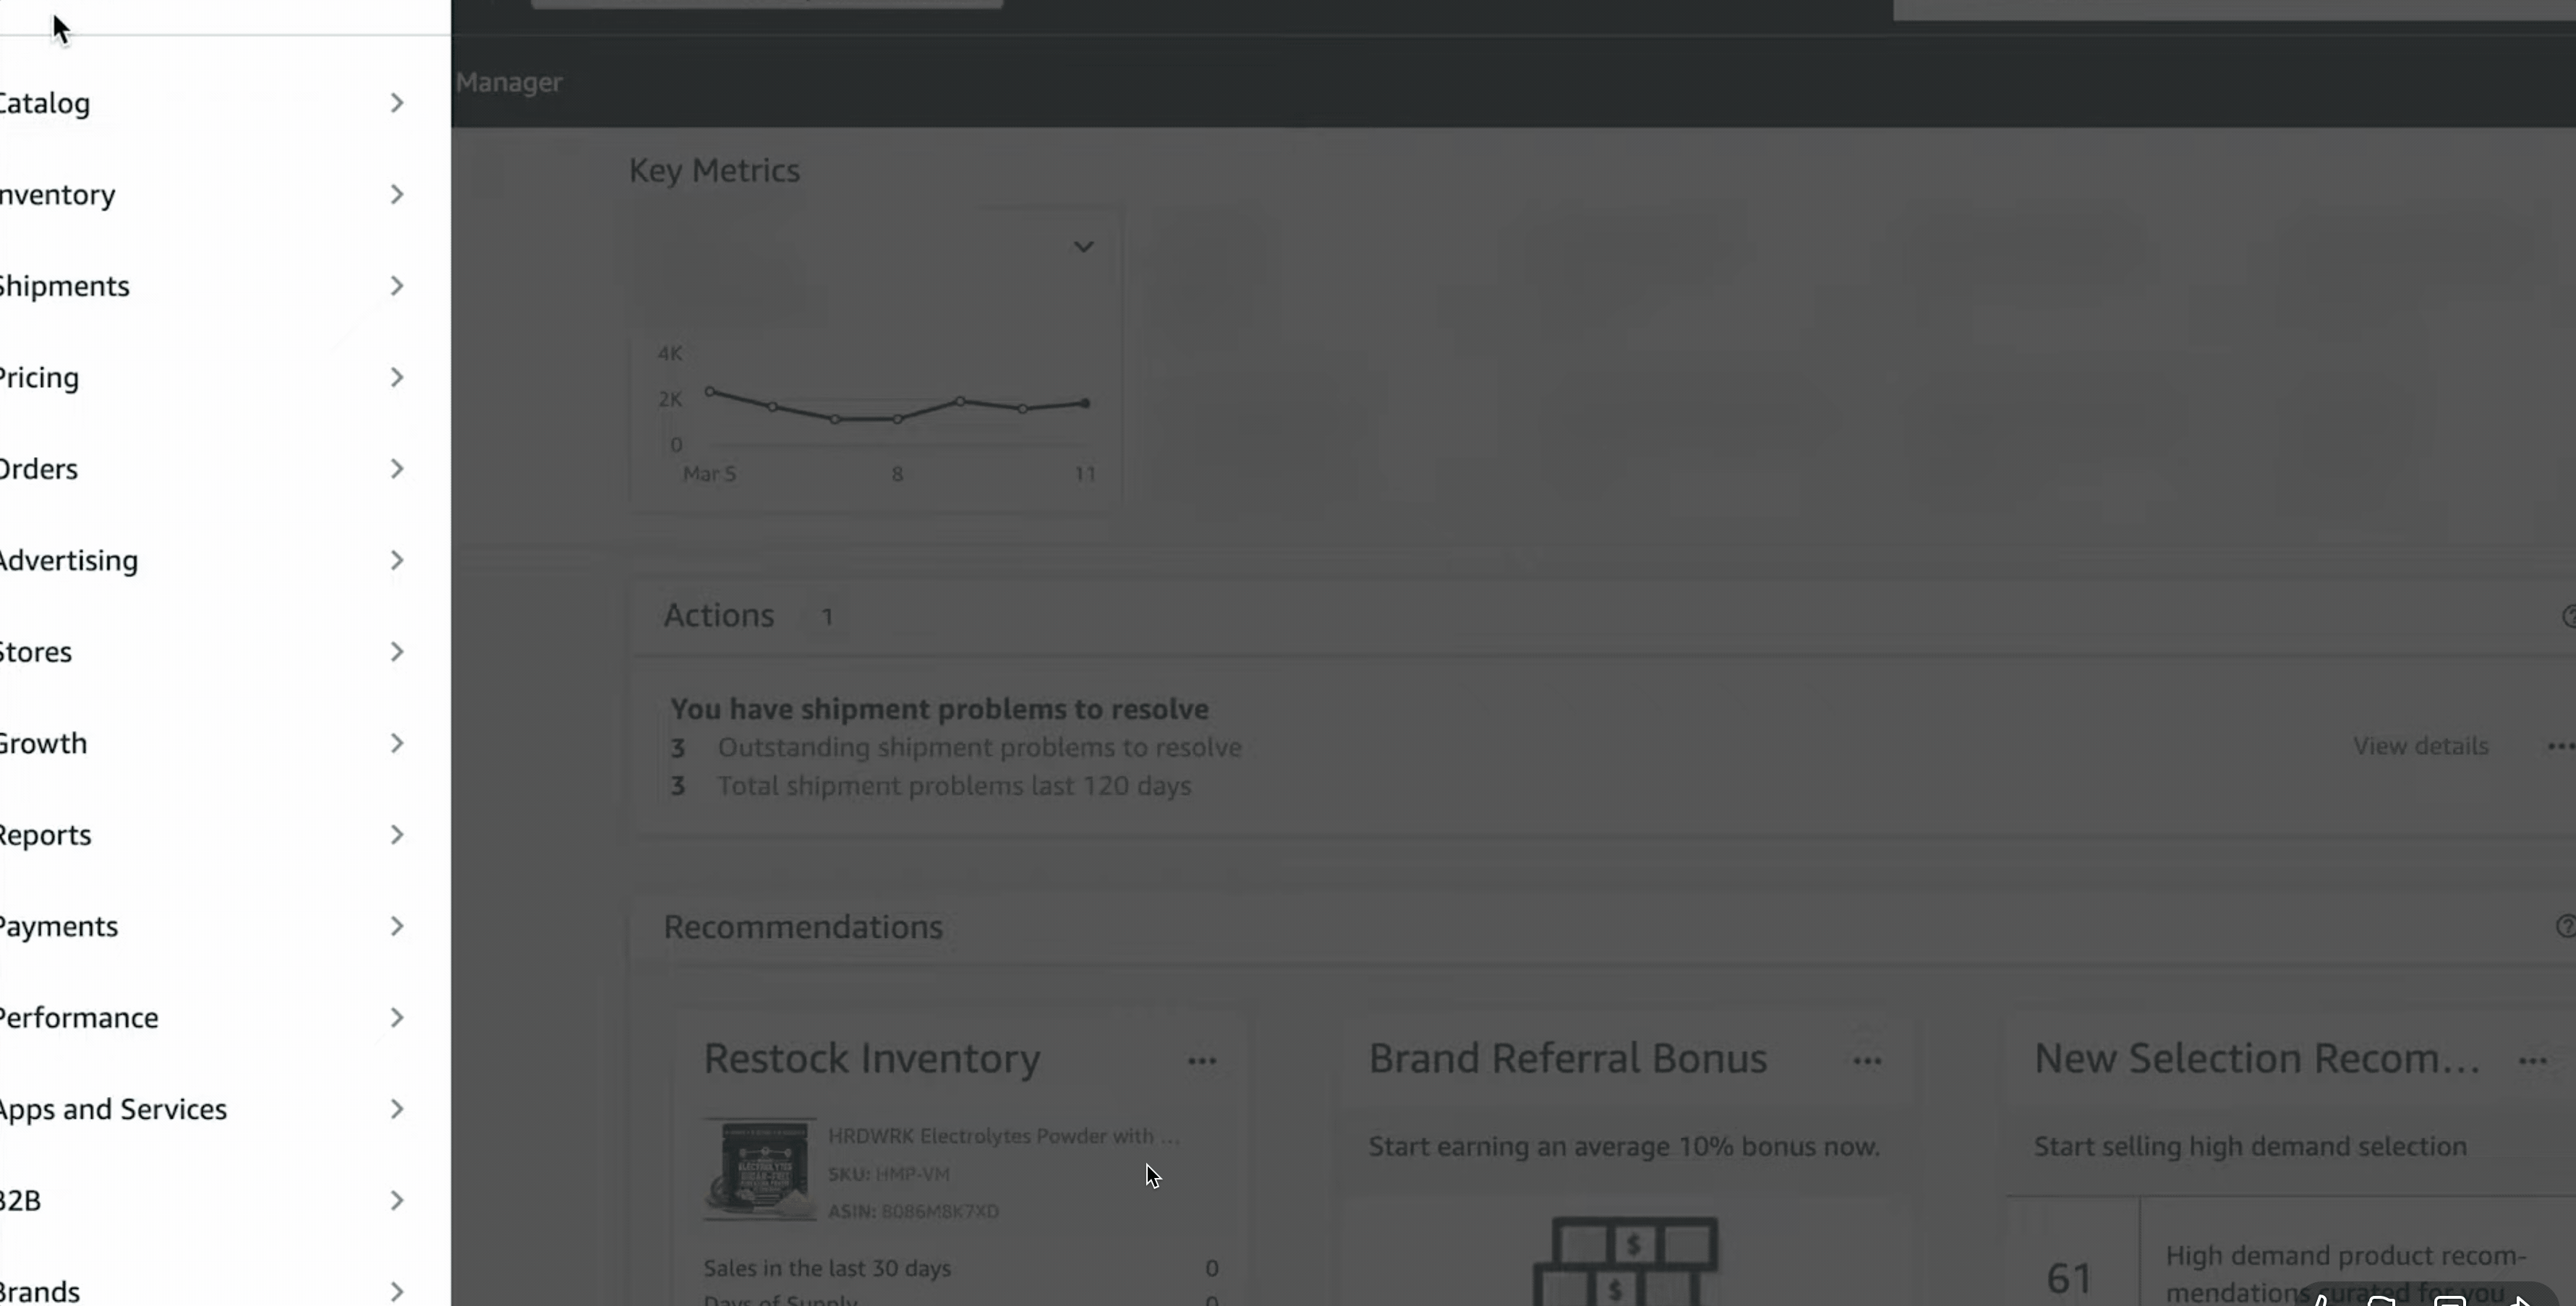
Once your brand is in Brand Registry, the “Stores” section will appear in Seller Central for you.
Make sure you’ve completed Brand Registry enrollment before starting.
This unlocks the Store builder plus other perks like A+ Content.
Building a Storefront offers several big advantages.
1. Curated Brand Experience
Your Storefront becomes a one-stop shop for all your products.
Customers can browse your entire catalog without seeing competitor ads.
A Storefront is a “curated brand destination” where you showcase your story and products in one place.
2. No Competitor Distractions
When shoppers enter your Storefront, they only see your brand.
One of the biggest benefits is freedom from competitor ads and Sponsored Products – your customers focus on your products alone.
3. Creative Branding
You have full control over layout, colors, and content.
You can add infographics, videos, lifestyle photos, and more.
This is a powerful way to reinforce brand identity and trust.
Rich visuals and storytelling in your store help connect with your audience on a deeper level.
4. Higher Conversion & Traffic
Storefronts tend to convert better than a single listing because you can guide customers through a funnel.
You can also drive external traffic (from social media, email, ads, etc.) to your Storefront URL.
Amazon’s own data shows store visitors have a much higher purchase rate and larger order value.
Plus, you can route your Sponsored Brands ads directly to Store pages.
5. Performance Insights
Amazon provides a dashboard of Store Analytics.
You’ll see page views, traffic sources, and sales from your Storefront.
This data helps you optimize content and marketing based on what’s working.
Overall, a Storefront is like your brand’s home on Amazon – it builds recognition and trust.
Brands that use Storefronts give shoppers a mini-website experience that Amazon’s massive audience already trusts.
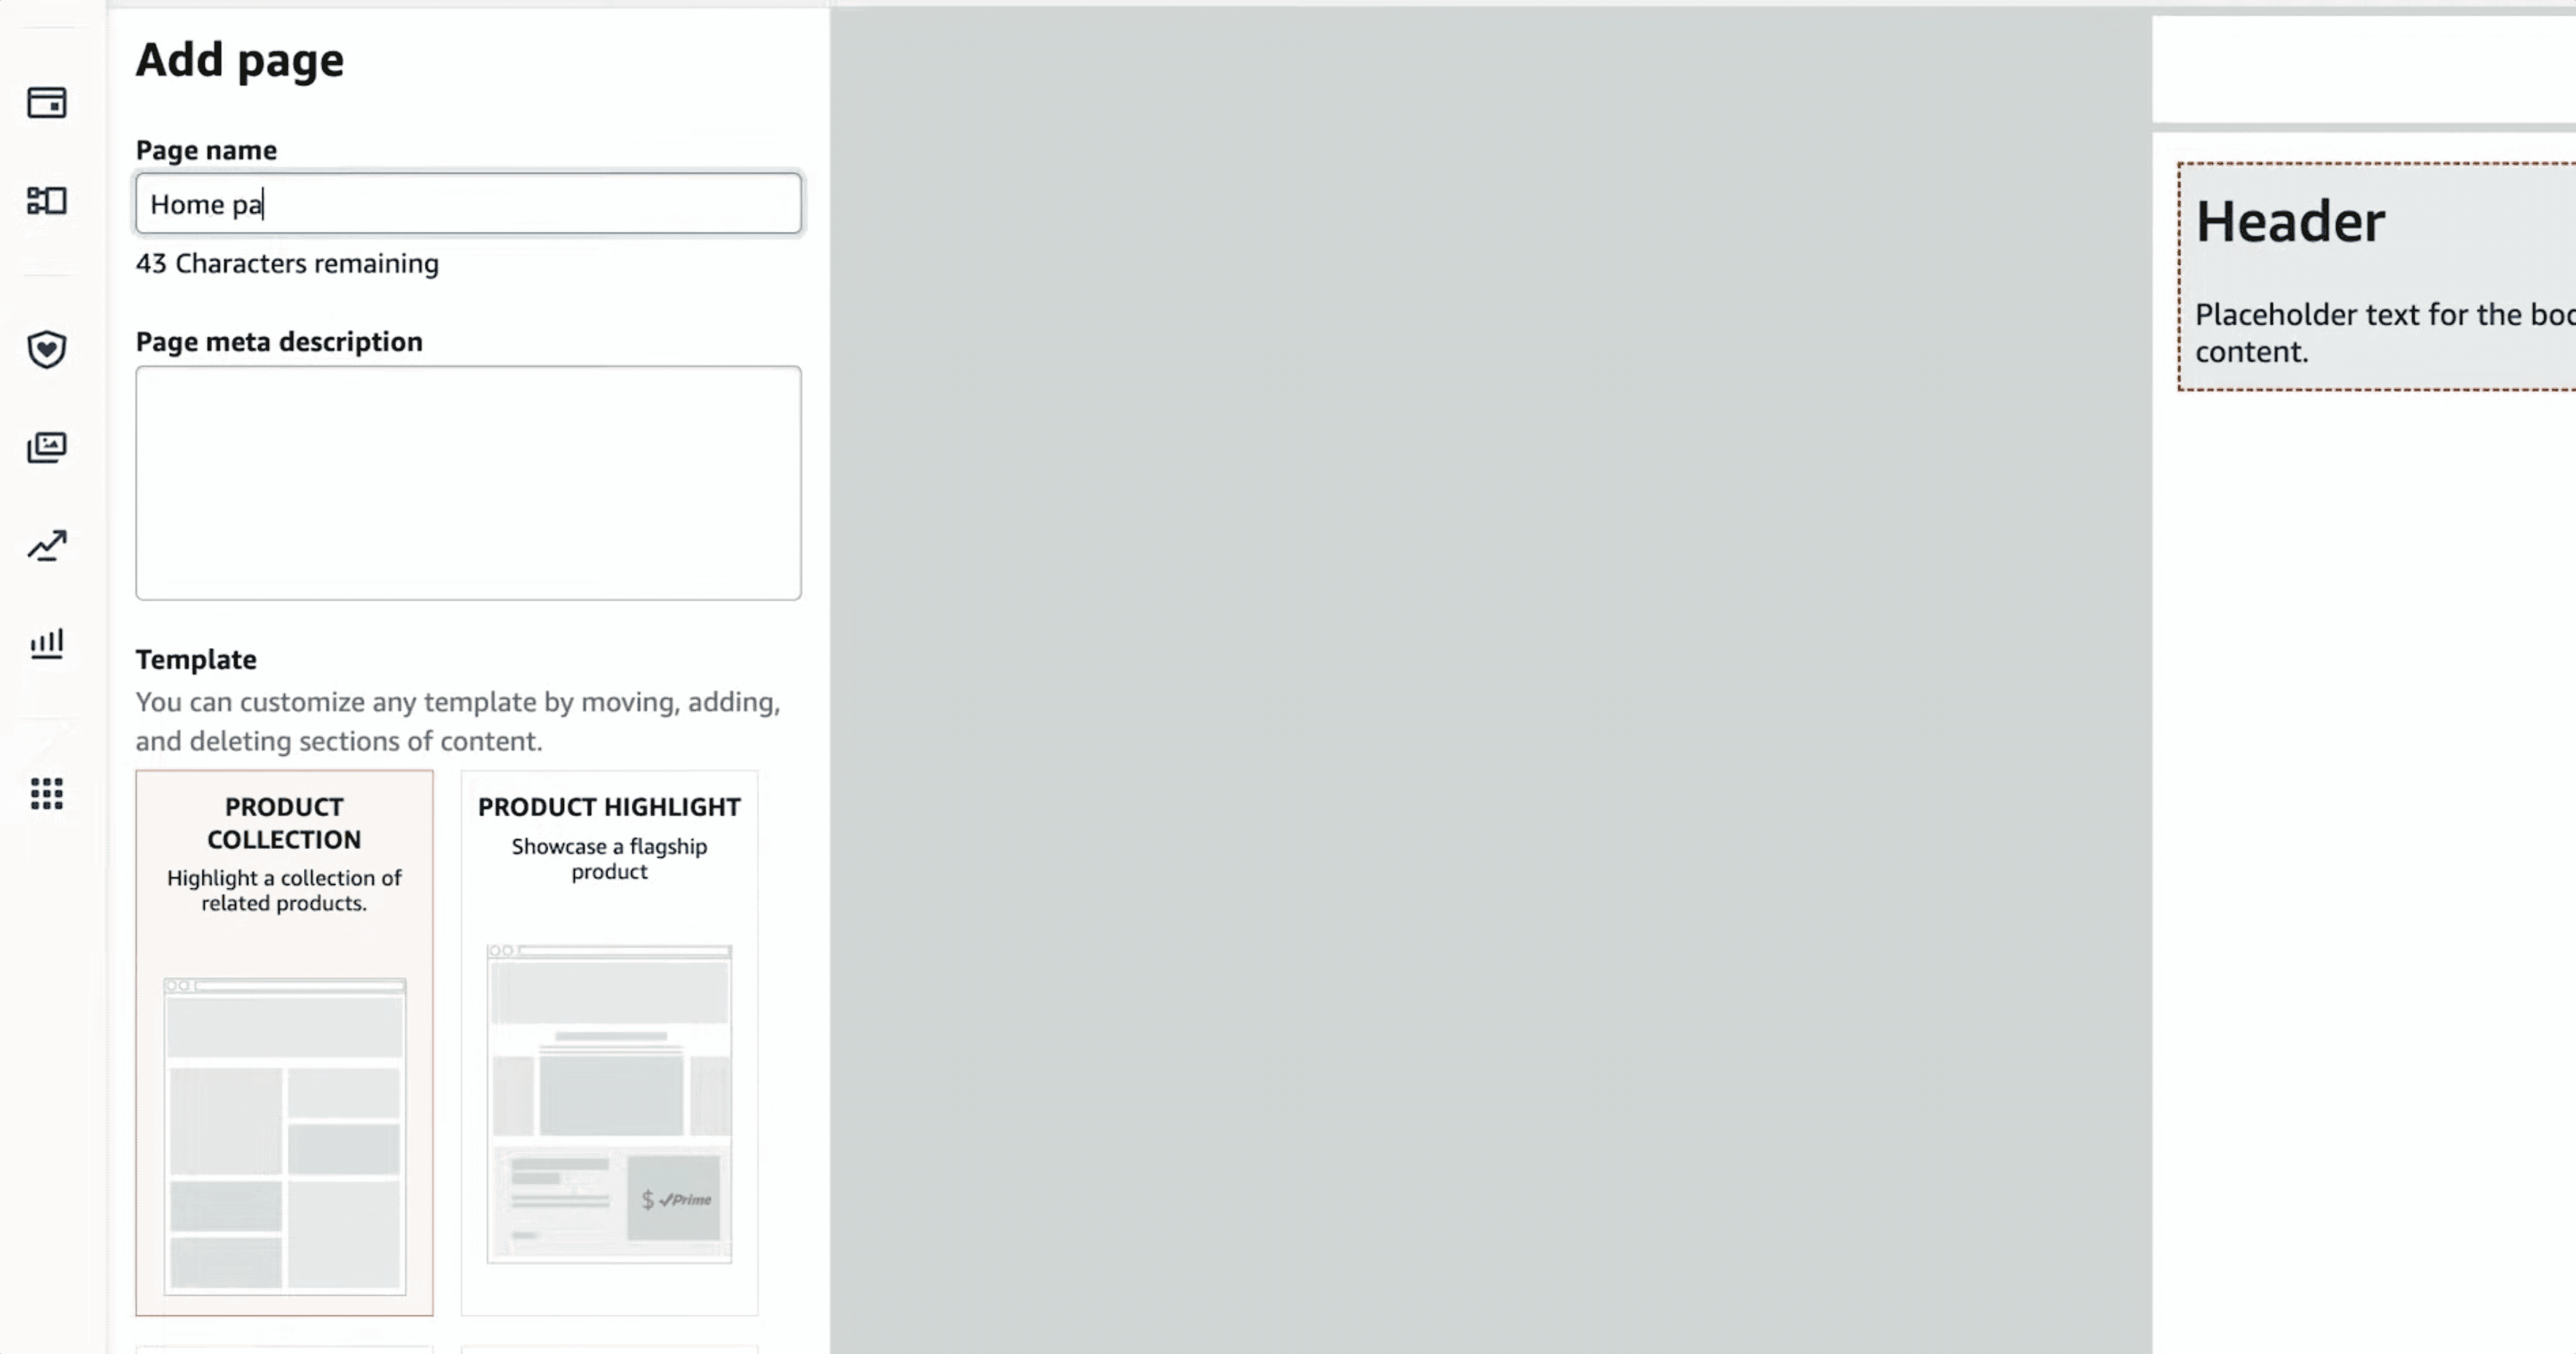
Follow these steps to build your Storefront.
We’ll assume you already have Brand Registry and a Professional Seller account (if not, enroll in Brand Registry first).

Once live, your Storefront gets its own URL (e.g. amazon.com/stores/YourBrand), which you can share in marketing.
1. Follow Amazon’s guidelines.
Avoid making unsubstantiated claims or using symbols/formatting against the rules.
Ensure images meet Amazon’s size recommendations (e.g., at least 1000×1000px)
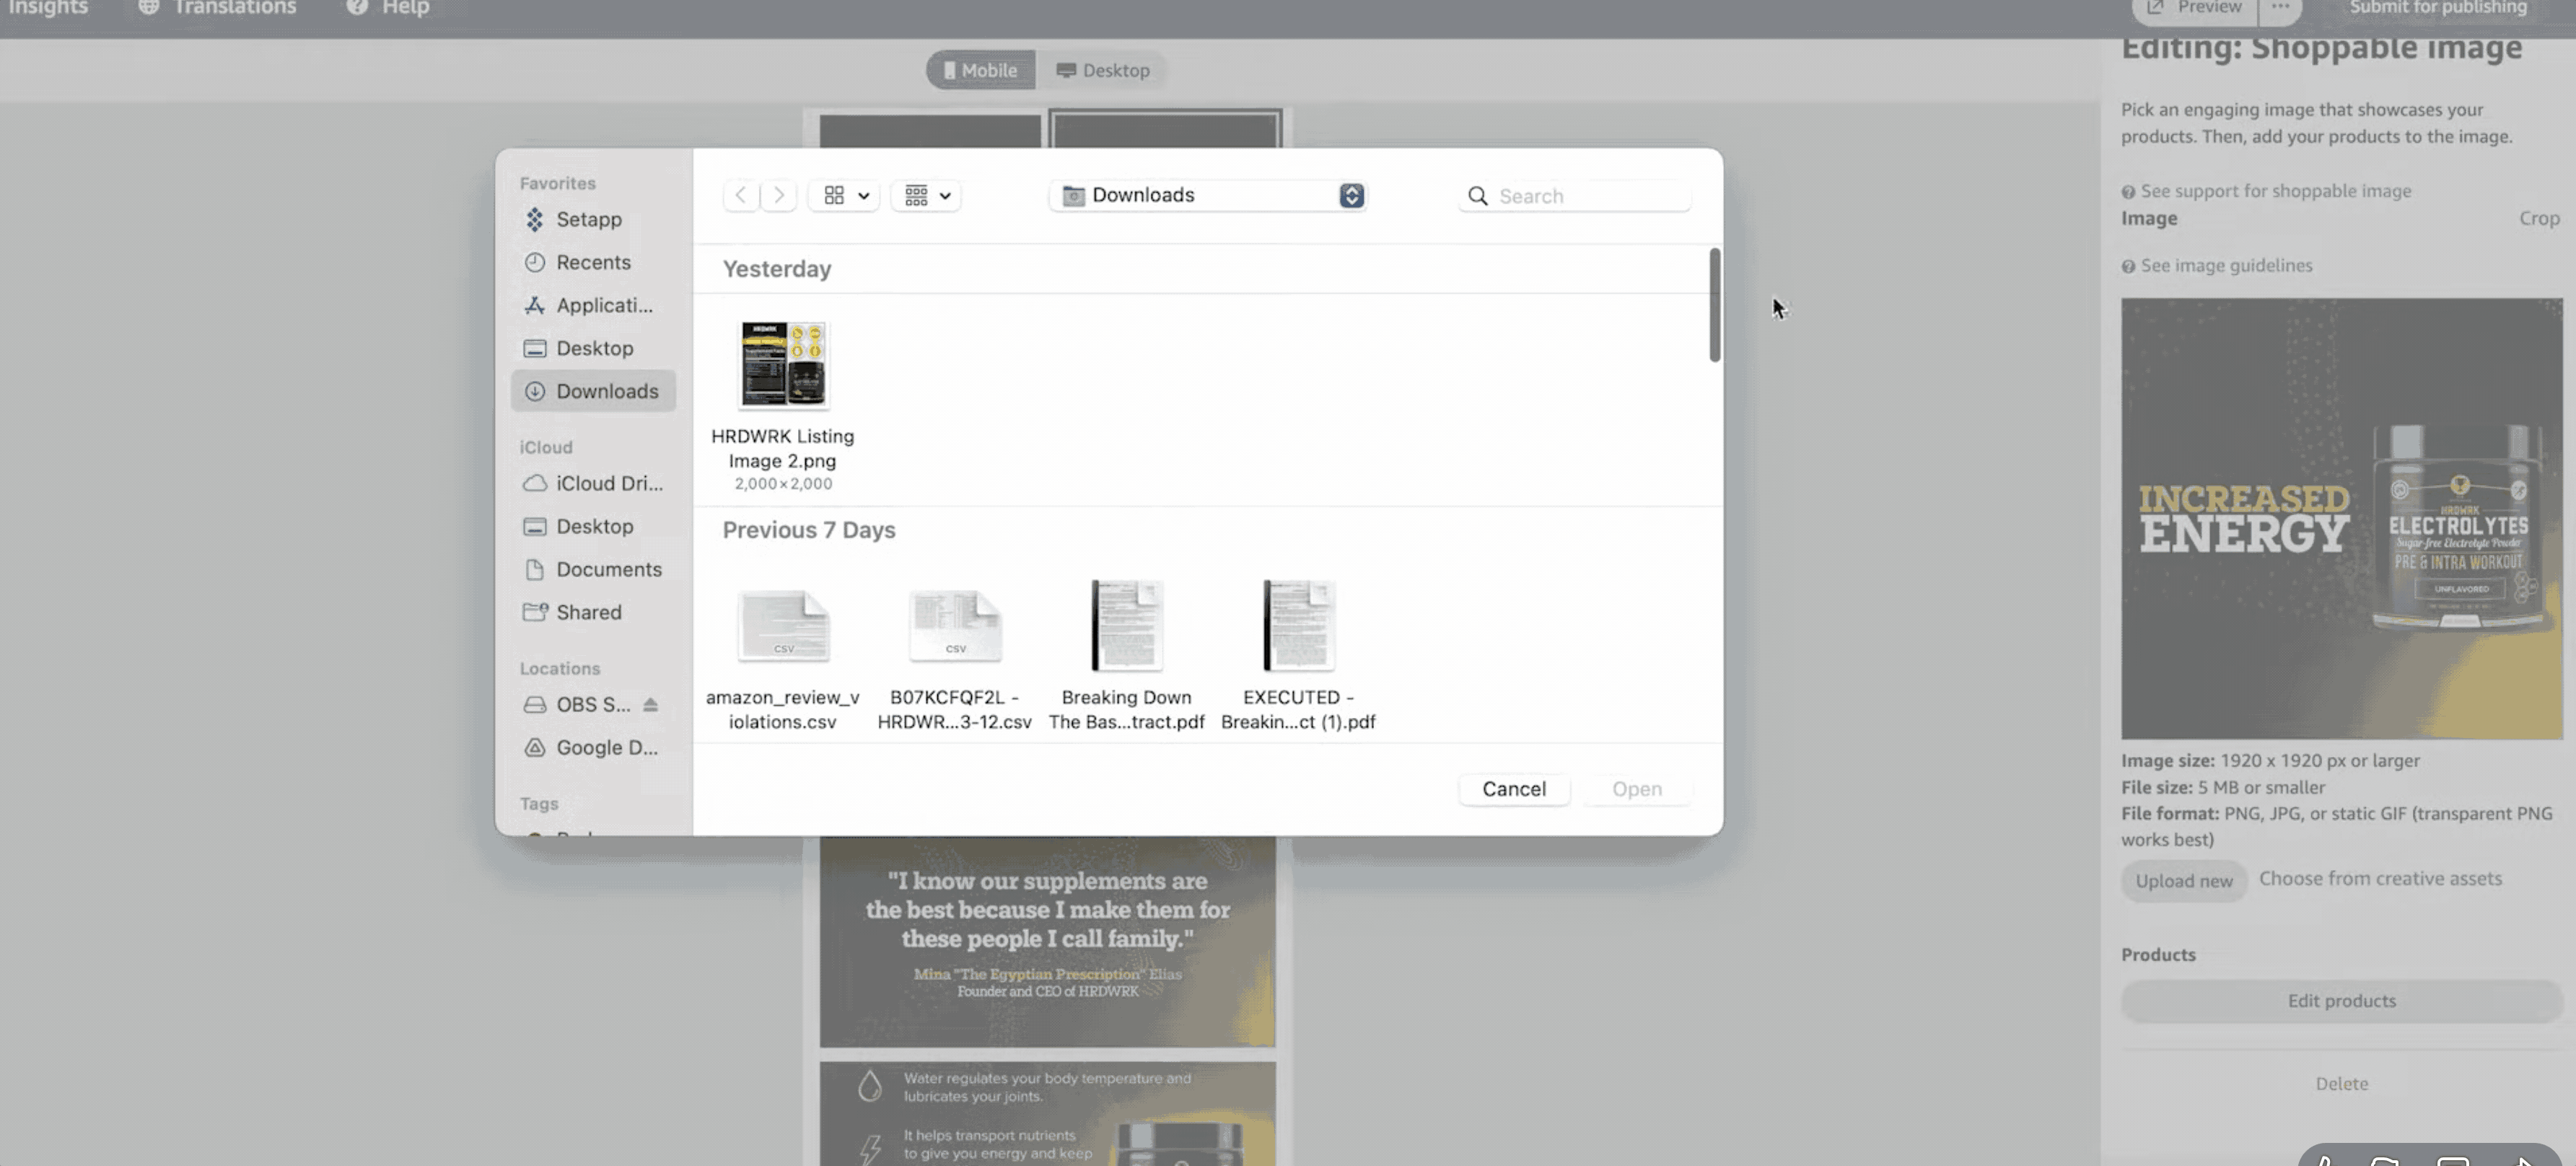
2. High-quality visuals.
Use professional photos or lifestyle images. eDesk advises using clear, appealing product images and graphics (stock photos can look generic)
3. Consistent branding.
Stick to your brand colors, fonts, and tone throughout the Store so it feels cohesive.
4. Keyword-rich text.
Write concise, descriptive headings and text blocks.
Incorporate relevant terms (e.g. “wireless headphones for runners” or “premium [Product] for outdoor use”) to help with Amazon SEO.
5. Mobile-first checks.
Always preview on a smartphone layout.
Most customers browse via mobile apps.
Ensure buttons and images look good on small screens.
6. Leverage A+ Content.
If you’re Brand Registered, use A+ (Enhanced Brand) content on your product pages.
This isn’t in the Store itself, but it complements your Store with rich product descriptions and images.
7. Promote your Store.
Link to your Storefront from social media, emails, and ads.
You can also run Sponsored Brand ads that drive directly to your Store (this bypasses competitors and can boost ROI)
8. Update regularly.
Keep your Store fresh.
Add new products, run seasonal promotions, and update banners as needed.
Brands that refresh their storefronts see higher repeat visitor rates.
Do I have to pay to create an Amazon Storefront?
No. Building an Amazon Storefront is free.
It’s a benefit included with Amazon Brand Registry.
You only pay your usual Amazon seller fees, not for the Store itself.
How long does approval take?
Amazon typically reviews new Storefront submissions within 1 to 2 business days.
In our experience, as long as you follow Amazon’s content rules, approval is usually quick.
It may take longer (up to a week) during peak seasons, so plan launches accordingly.
Can anyone open my Amazon Seller Central?
No. Only brand owners enrolled in Brand Registry (with a trademark) and professional accounts can use Stores.
This also includes vendors on Vendor Central.
There’s a separate Influencer Storefront program for social media creators, but that’s different – we’re focusing on Brand Storefronts here.
How do customers find my Amazon Storefront?
Once live, your Store has a custom URL (shown under your brand name).
Also, on every product detail page for your brand, a “Visit the [Your Brand] Store” link appears.
Shoppers click that to go to your Storefront.
What if I need to make changes later?
You can return to the Store builder at any time and edit your Store.
Just submit updates for review again – Amazon allows you to schedule new versions for promotions or seasons.
Use the Store Insights dashboard to track performance and decide what to tweak.
Setting up an Amazon Storefront is relatively simple and cost-free, yet it can significantly boost your brand’s presence on Amazon.
By following the steps above – logging into Seller Central, using the drag-and-drop Store builder, adding your brand assets, and organizing your products – you’ll create a polished shopping experience for customers.
Always preview on desktop and mobile, use high-quality images, and write helpful product descriptions and headings.
Once submitted and approved, your new Storefront will give shoppers a branded destination to explore all your products.
With your Storefront live, continue promoting it through ads and social channels to drive more traffic.
Monitor the Store Insights Amazon provides, and update your content as your catalog grows.
In the end, a well-built Storefront not only makes your Amazon brand look more professional but can also lead to higher sales and loyal customers.
If setting up your Storefront feels like one more thing on an already packed to-do list, we can help.
Our Amazon Seller Central team handles the setup, design, optimization, and day-to-day seller management so you can focus on growing the brand.


How we can tailor your Shopify theme or build a brand-new store from the ground up.
© 2025 | All rights reserved.


